You found a supplier. The spec sheet looks great. 2,500 nits, IP65, optical bonding, the works. The price is competitive.
But you've been through this before. The last "sunlight readable" display you bought washed out in the first summer. The supplier blamed the enclosure. The enclosure was fine.
The problem is that you never tested the display properly — and neither did they.
Three tests separate a display that works outdoors from one that looks good in a showroom.
💡 Quick Answers — How to Test a High Brightness Display
What are the three essential tests?
(1) Sustained full-screen brightness, not peak. (2) ANSI checkerboard contrast under heat. (3) Real sunlight readability at the deployment site. Any display that fails any of these three is not suitable for outdoor use, regardless of its spec sheet.Can I do this without expensive equipment?
A lux meter (phone app, ~$50) and a thermal camera (handheld, ~$200–400) cover 90% of what you need. The remaining 10% — precise colorimetry — requires a professional lab, and you should ask the supplier for their test report rather than doing it yourself.What should I ask the supplier for before ordering?
Four things: (1) sustained full-screen brightness at 25°C and 50°C, (2) ANSI checkerboard contrast ratio, (3) thermal camera image of the display running at full brightness for 2+ hours, (4) real sunlight test photos from a previous customer deployment.
Why Spec Sheets Lie
Every display spec sheet has the same problem: the numbers are measured under conditions that don't match your deployment.
A "2,500 nit" display might mean:
2,500 nits from a 3% white window, flashed for 3 seconds
2,200 nits full-screen, measured at 25°C room temperature
2,000 nits after the display has run for an hour at 50°C internal temperature
1,700 nits after 18 months of LED aging in a hot enclosure
All of these are "2,500-nit displays." Only the last one matters to your customers.
The fix isn't buying a more expensive panel. It's testing the right things before you commit.
Test 1: Sustained Full-Screen Brightness
What it measures: The display's actual output when the entire screen is lit — not a marketing flash.
How to do it:
Display a full-white screen at maximum brightness setting.
Wait 30 minutes (this is critical — cold LEDs underperform).
Measure brightness at the center and at four corners (9-point method).
Record the average and the minimum-to-maximum ratio.
What to look for:
Sustained full-screen brightness should be within 10–15% of the rated "typical" brightness.
Uniformity: the dimmest corner should be no dimmer than 85% of the center reading. A 20% drop across the panel means uneven backlighting — visible as a brighter center and dim edges.
If the display has a local dimming feature, repeat the test with it enabled and disabled. Note the difference.
Red flag: Sustained brightness more than 25% below the rated spec. This usually means the backlight is thermally constrained — it's capable of more, but the cooling can't sustain it. The display will derate further in a real outdoor enclosure.
Test 2: ANSI Checkerboard Under Heat
What it measures: Real-world contrast — the metric that actually determines readability, not the "contrast ratio" number on the spec sheet.
How to do it:
Display an ANSI checkerboard pattern (alternating black and white squares, 4×4 grid).
Measure the average white-square brightness and the average black-square brightness.
Calculate the ratio: white ÷ black = ANSI contrast.
Repeat the test after the display has been running for 2 hours in a warm environment (40°C ambient or equivalent).
What to look for:
ANSI contrast of 1,000:1 or higher for outdoor readability.
The contrast ratio should not drop more than 15% between cold-start and hot-running conditions. A large drop means the panel is thermally compromised — blacks lift as the panel heats, and contrast collapses.
Why this matters: A display can have 2,500 nits of peak brightness and terrible real-world contrast if the black levels rise under heat. The ANSI test exposes this. The spec sheet "contrast ratio" number is usually measured in a dark room with a full-white then full-black screen — a condition that never happens in real use.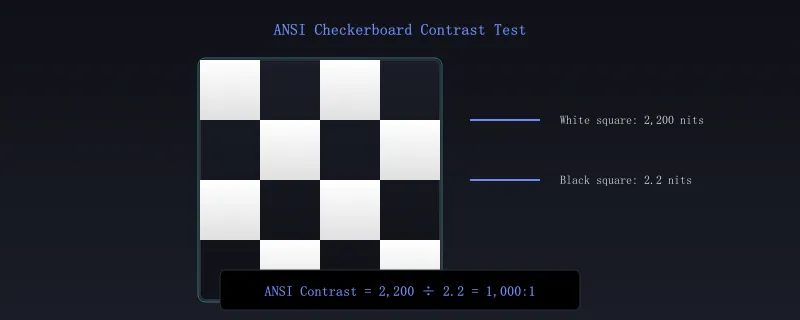
ANSI contrast = average white square brightness ÷ average black square brightness. 1,000:1 or higher for outdoor readability.
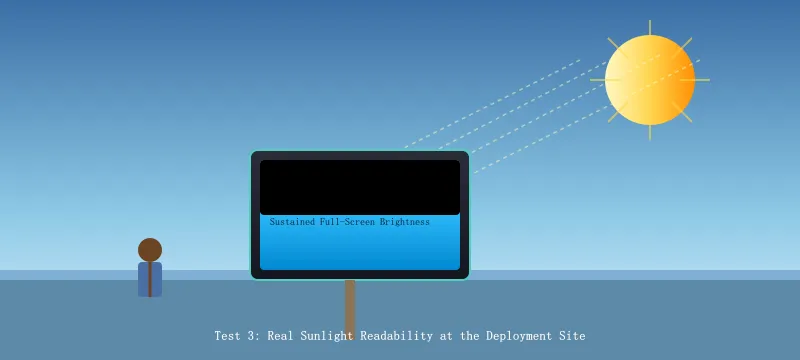
Test 3: Real Sunlight Readability
What it measures: Whether the display is actually readable in the conditions where it will be deployed.
How to do it:
Take the display (or a identical sample) to the deployment site at midday.
Place it at the exact mounting height and angle it will use.
View it from the expected viewing distance.
Try to read small text and detailed graphics.
What to look for:
Can you read 10-point text from the expected viewing distance without squinting?
Does the screen act like a mirror? If you can see your reflection clearly, the surface reflectance is too high — regardless of brightness.
Are dark areas washing into gray? This indicates internal reflections (no optical bonding) or insufficient contrast.
The 15-minute rule: If the display is unreadable after 15 minutes of outdoor exposure, it will never become readable. Thermal equilibrium is reached fast, and there's no "warm-up period" that fixes contrast.
Red flag: A display that looks great indoors but becomes a mirror outdoors. This is the most common failure of cheap "high brightness" panels — they have the nits but lack optical bonding and AR coating. The spec sheet doesn't tell you.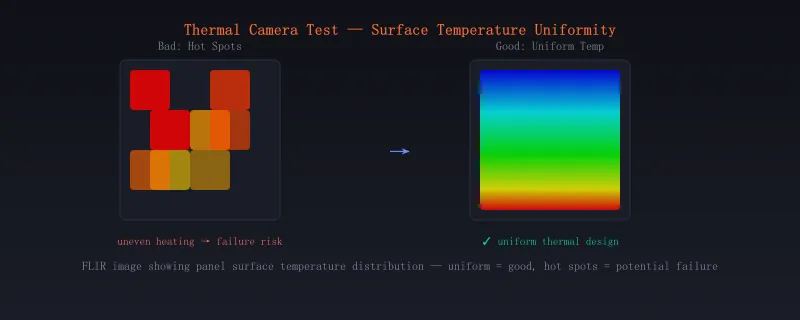
What to Ask the Supplier
Before you order, ask these four questions. A good supplier answers them readily. A bad one deflects.
| Question | What a Good Answer Sounds Like |
|---|---|
| "What's the sustained full-screen brightness at 25°C and at 50°C?" | Two specific numbers, with test conditions. If they only quote peak brightness, they're hiding something. |
| "Can you provide an ANSI contrast ratio measurement?" | A number (1,000:1 or higher) with the test pattern and conditions described. |
| "Can you send thermal camera images of the display running at full brightness for 2+ hours?" | A FLIR image showing the panel surface temperature distribution. Uniform temperature = good thermal design. Hot spots = potential failure points. |
| "Do you have real sunlight test photos from a customer deployment?" | Photos taken at the actual deployment site, at midday, from the viewing distance. If they can't produce these, they haven't tested their own product in the conditions they claim it works in. |
The Minimum Viable Test Kit
You don't need a $10,000 lab. Here's what works:
| Tool | Cost | What It Tells You |
|---|---|---|
| Lux meter (phone app or handheld) | $0–50 | Ambient light levels at the deployment site |
| Thermal camera (handheld FLIR or similar) | $200–400 | Panel surface temperature uniformity, thermal hot spots |
| lux meter with data logging | $100–200 | Brightness vs. temperature curve over time |
| Smartphone with manual camera mode | $0 | Quick readability check at the deployment site |
The thermal camera is the one worth buying. It reveals problems that no spec sheet can hide — uneven backlight heating, hot driver ICs, inadequate heatsink contact. A $300 camera can save you from a $10,000 mistake.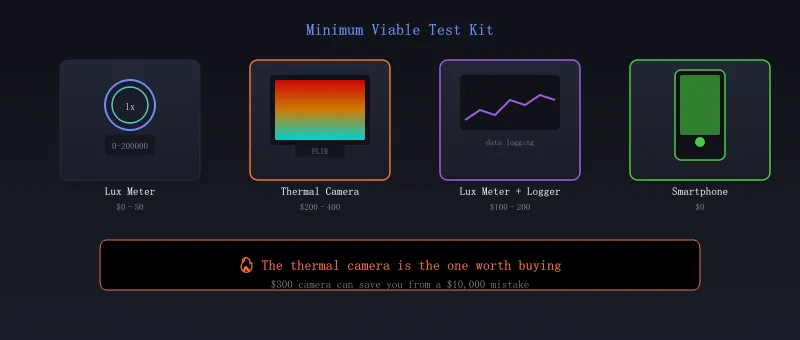
📧 ai@risinglcd.com · 💬 +86 158 8946 9208 · 🌐 www.risinglcd.com